|
|
|
![]()
![]()
What You Need To Get Started:
1. A MacOS compatible
computer with Operating System: Macintosh 9.x
2. Port: Universal Serial Bus
(USB)
3. A Ricochet Wireless modem
with Internet access.
On the Macintosh, three control panels need to be configured:
PPP (called Remote Access in MacOS 8.5 and above),
Modem, and
TCP/IP control panels. This page explains how to configure them.
Installation Procedure:
Insert the Ricochet Installer 4.2 Macintosh Edition CD into the CD-ROM drive.
After a few seconds the icon for the CD will appear on the Desktop:
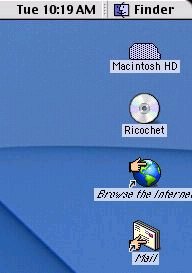
Double click on the Ricochet Icon.
A window similar to the following will appear:
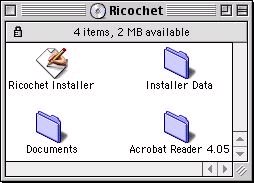
Double click on the Ricochet Installer.
The Welcome Screen appears:
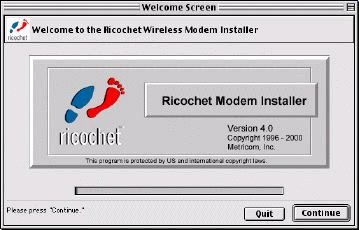
Click on Continue
The License Agreement appears:
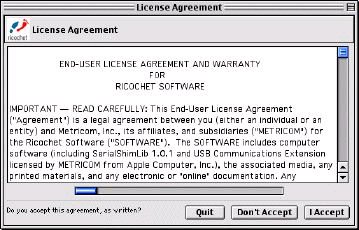
Click on I Accept.
The Available Port screen appears:
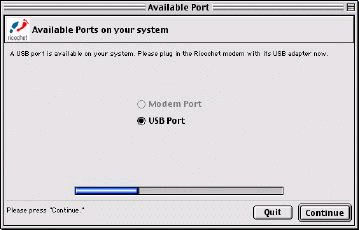
Choose USB Port and click Continue.
(Optional: If you haven’t plugged in your Ricochet Modem into the USB port yet, the Modem Not Detected screen will appear:
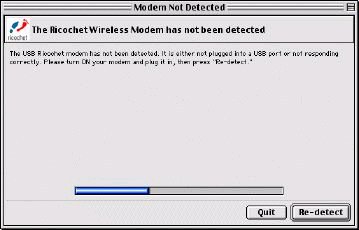
Plug the USB cable into the Ricochet Modem and then into the USB port on the Mac and then turn the Modem on.
Then click on Re-detect.)
The Creating and activating configurations screen appears:
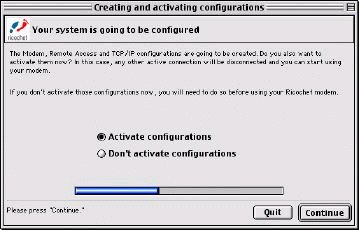
Click on Activate configurations if you want to use your Ricochet Modem soon after the installation is done.
Then click on Continue.
The Finish screen appears:
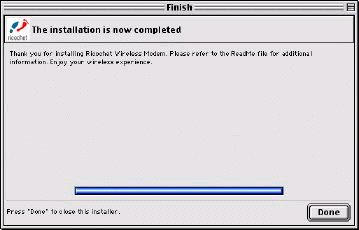
Click on Done to finish the installation.
The installation is complete!
The Installer does not configure the necessary files for internet access, so we will do this now.
Go to the Apple Menu -> Control Panels -> Remote Access.
The Remote Access (Ricochet USB) window appears.
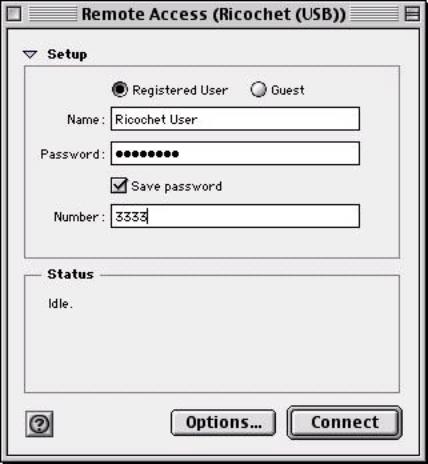
Choose Registered User and enter your Username and password provided to you from your ISP in the Name & Password fields.
In the Number field, type in 3333.
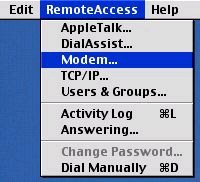
From the RemoteAccess Menu on top of the screen, choose Modem...
The Modem window appears:
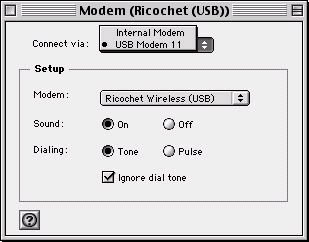
(Optional: Select USB Modem 11 (or similar entry) from the Connect via: option if it is not already selected.
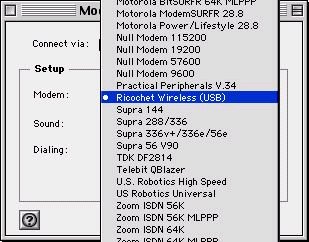
Select the Ricochet Wireless USB modem from the list of available modems under the Modem option in the Setup box if it is not already selected.
Close the Modem window.
Click Save on the alert screen that appears:
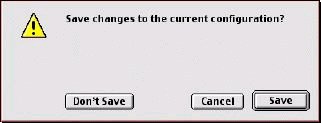
This will save your changes to the current active configuration for the Wireless Internet Access. (Note: the Ricochet configuration had been activated during the installation procedure).
From the RemoteAccess Menu at the top of the screen, choose TCP/IP...
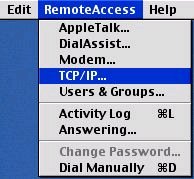
The TCP/IP (Ricochet (USB)) window appears:

Make the following entries as above:
Connect via -> PPP
Configure -> Using PPP Server
Name server addresses -> 207.217.126.81 & 207.217.77.82
Search domains -> earthlink.net
Close the TCP/IP (Ricochet (USB)) window.
Click Save on the alert screen that appears:
This will save your changes to the current active configuration for the
Wireless Internet Access. (Note: the Ricochet configuration had been activated
during the installation procedure).
That’s it! You’re done with all the settings and can start using your
Wireless Web Connect Service!